Understanding the Basics of Vaping Coils
Vaping has taken the world by storm, offering an alternative to traditional smoking while providing users with a diverse array of flavours and experiences. Central to this experience is the vape coil, a critical component that directly affects the quality and satisfaction of your vape. Understanding how a vape coil works and its role in your device is essential for both beginners and seasoned vapers alike. In this guide, we will explore how to prime a vape coil, ensuring you achieve the best flavour and longevity from your vaping experience.
What is a Vape Coil and Its Function?
A vape coil is essentially a wire wrapped in a specific configuration that heats up when electricity passes through it. The primary function of the coil is to vaporise e-liquid, turning it into vapour that can be inhaled. The coil is encased in cotton or another type of wicking material, which absorbs the e-liquid and delivers it to the coil. Understanding this relationship between the coil and the wicking material is vital for optimal performance.
Types of Coils: Which One is Right for You?
There are several types of coils available, including:
- Standard Coils: Typically made of Kanthal wire, these are excellent for beginners, providing a reliable experience.
- Sub-Ohm Coils: Designed for lower resistance, these coils produce more vapour and are ideal for cloud chasers.
- Temperature Control Coils: Made from materials like nickel or titanium, these coils allow users to set specific temperatures for a tailored vaping experience.
- Nicotine Salt Coils: Optimised for use with nicotine salts, these coils provide a smoother throat hit and are ideal for higher nicotine concentrations.
Common Misconceptions about Coils
Many new vapers have misconceptions about coils, such as that all coils are the same or that higher wattage always equals better flavour. In reality, coil resistance and material can significantly affect both flavour and vapour production, making it essential to choose a coil that matches your device and personal preferences.
The Importance of Properly Priming Your Vape Coil
When it comes to enhancing the vaping experience, proper priming of your coil is crucial. This process involves saturating the wicking material with e-liquid before using the coil. Failing to do so can lead to a burnt taste and reduced coil lifespan. This article will detail the benefits of priming and provide essential tips on how to do it effectively. Remember, when exploring options, how to prime a vape coil can make a significant difference in your vaping journey.
Benefits of Priming for Enhanced Flavour
Priming your coil is essential for achieving the best flavour from your e-liquid. When the wick is fully saturated, it allows for even heating and prevents dry hits, which can taint the taste and ruin your experience. Properly primed coils tend to have a more consistent and enjoyable flavour profile.
How Priming Affects Coil Lifespan
A well-primed coil not only enhances flavour but also prolongs the life of the coil. If a coil is not adequately saturated, the cotton can quickly burn, leading to premature coil replacement. Regularly priming your coils ensures that they last longer, saving you money and reducing waste.
Consequences of Skipping the Priming Process
Neglecting to prime your coil can lead to several adverse effects, including:
- Burnt Taste: A dry wick will scorch the cotton, leaving you with an unpleasant burnt flavour.
- Reduced Vapour Production: An improperly primed coil will not vaporise e-liquid efficiently, resulting in weak vapour.
- Shortened Coil Life: Continually burning dry cotton will quickly degrade your coil, necessitating frequent replacements.
Step-by-Step Guide on How to Prime a Vape Coil
Priming a vape coil is a straightforward process but requires attention to detail to ensure optimal performance. Here’s a step-by-step guide to help you get it right every time.
Gathering Necessary Tools and Materials
Before you begin, ensure you have the following:
- Your vape device and tank
- A new vape coil
- E-liquid of your choice
- Paper towel or cloth (optional)
Detailed Process to Prime Your Coil
- Remove the Tank: Start by unscrewing the tank from your vape device.
- Install the New Coil: Screw the new coil into the base of the tank. Ensure it is tightly fitted.
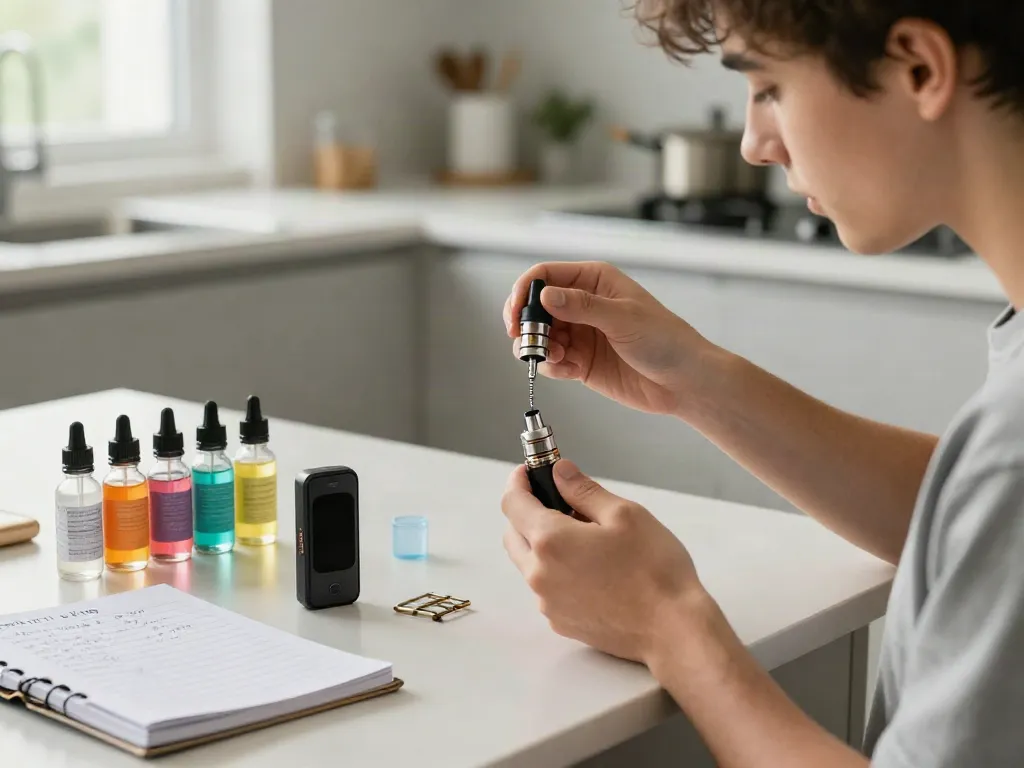
- Drip E-Liquid on the Coil: Add a few drops of e-liquid directly onto the exposed cotton of the coil. This saturates the wick and helps prevent dry hits.
- Fill the Tank: Once the coil is primed, fill the tank with your chosen e-liquid.
- Let it Sit: Allow the tank to sit for about 5-10 minutes. This gives the wick time to absorb the liquid fully.
- Take Primer Puffs: Before firing the device, take a few short puffs without pressing the fire button. This helps draw e-liquid into the coil.
- Start Vaping: After priming, you can now fire your device and enjoy your vape.
Tips for Effective Priming Techniques
For best results, consider the following tips:
- Always soak the wick thoroughly—don’t be afraid to use a generous amount of e-liquid.
- Use the appropriate wattage for your coil type; starting low and gradually increasing can prevent burning.
- Be patient—allowing the coil ample time to saturate is key to avoiding burnt hits.
Common Issues and Troubleshooting When Priming
Even experienced vapers can run into issues while priming coils. Here, we address some common problems and their solutions.
Over-Saturation vs Under-Saturation: Finding Balance
Getting the balance right between over-saturation and under-saturation is crucial. An over-saturated coil may flood the tank and cause leaks, while an under-saturated coil will lead to dry hits. If you notice leaking, reduce the amount of e-liquid during priming. Conversely, if you experience dry hits, ensure you are allowing enough time for the wick to absorb the liquid properly.
Identifying Problems with Your Vape after Priming
After priming, if you notice issues like burnt taste or weak vapour, it may indicate improper priming or a defective coil. In such cases, it’s best to replace the coil and start the priming process again.
How to Fix a Burnt Coil after Wrong Priming
If you’ve burnt a coil, unfortunately, there's no way to completely revive it; the best course of action is to replace it. You can also try rinsing it with water and letting it dry out before reusing, but this is not always effective. For future coils, remember to follow the priming steps carefully to avoid this issue.
Future Trends in Vaping Technology and Coil Preparation
The vaping industry is rapidly evolving, and with it, the technology surrounding coils is set to advance significantly. Understanding these trends can help you stay ahead in your vaping experience.
Innovative Materials and Their Impact on Coils
With ongoing research, manufacturers are exploring new materials for coils, including ceramic and stainless steel. These innovations promise to deliver better flavour, heat distribution, and longer coil life.
Anticipated Changes in The Vaping Market for 2026
As regulations tighten and consumer preferences evolve, expect to see more focus on safety and sustainability. Eco-friendly materials and practices are expected to gain traction, influencing both product design and user habits.
Expert Predictions on Coil Technology Advancements
Experts predict significant advancements in coil technology, particularly around efficiency and performance. Innovations may include smart coils that adjust resistance based on usage patterns, enhancing the overall vaping experience.
How long should you let a vape coil prime?
It’s typically recommended to let a vape coil sit for at least 5-10 minutes after priming. This allows the wick to become fully saturated and ready for use.
Will one dry hit ruin a coil?
A single dry hit may not destroy a coil but can significantly affect its performance, potentially leading to a burnt taste in future uses. It's best to avoid dry hits altogether by ensuring proper priming.
How to make a vape coil unburnt?
Once a coil is burnt, it cannot be restored to its original condition. However, ensuring proper priming each time can help prevent burning in the future.
How to fix a vape that won't light up?
If your vape won’t light up, check for a few common issues: ensure the battery is charged, check the connections between the battery and tank, and make sure the coil is installed correctly.
How to prime a vape coil Smok?
The process for priming a Smok coil is similar to that of other brands. Make sure to drip e-liquid directly on the coil and let it sit for a few minutes before using to ensure optimal saturation.